Binders Overview- EMS
Learn to create and utilize binders to electronically organize and store important emergency related documents
- Emergency Management
- Connect360
- PBIS Rewards
- Hall Pass
- Preparation & Response Training
- Behavioral Case Manager
- Visitor Management
-
Compass
Training Workshops Getting Started On-Demand Data & User Management Compass Curriculum for Students, Staff, & Families Compass Behavior Intervention Compass Mental Health + Prevention Compass for Florida - Character Ed, Resiliency, & Prevention Compass for Texas - Character Ed Analytics & Reporting Release Notes & Updates Additional Resources
- School Check In
- ALICE Training Institute
- Detect
- Anonymous Tip Reporting
- Resources
- Back-to-School
To add a new binder:
- Navigate to the Binders tab in the Binders & Documents feature
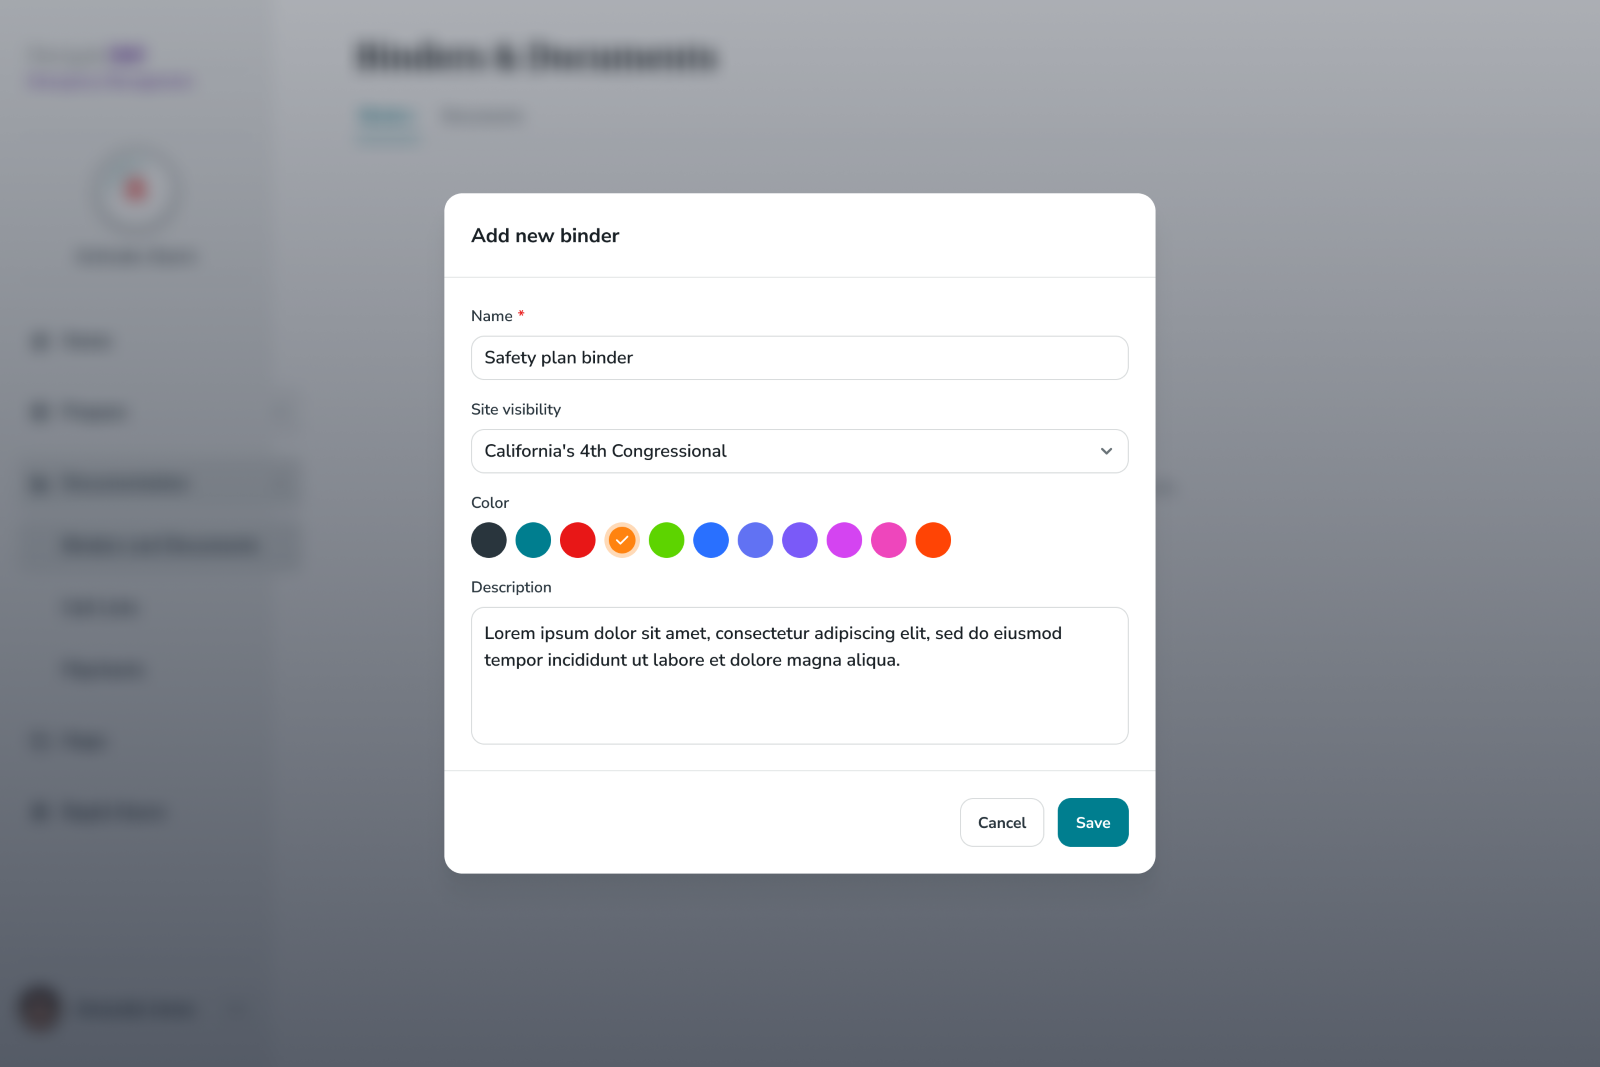
- Click + New binder near the top right corner of the page
- Next, fill in the following information:
- Binder name
- Select the site that should be able to access the file
- Binder color
- Description (Optional)
- Then click Save
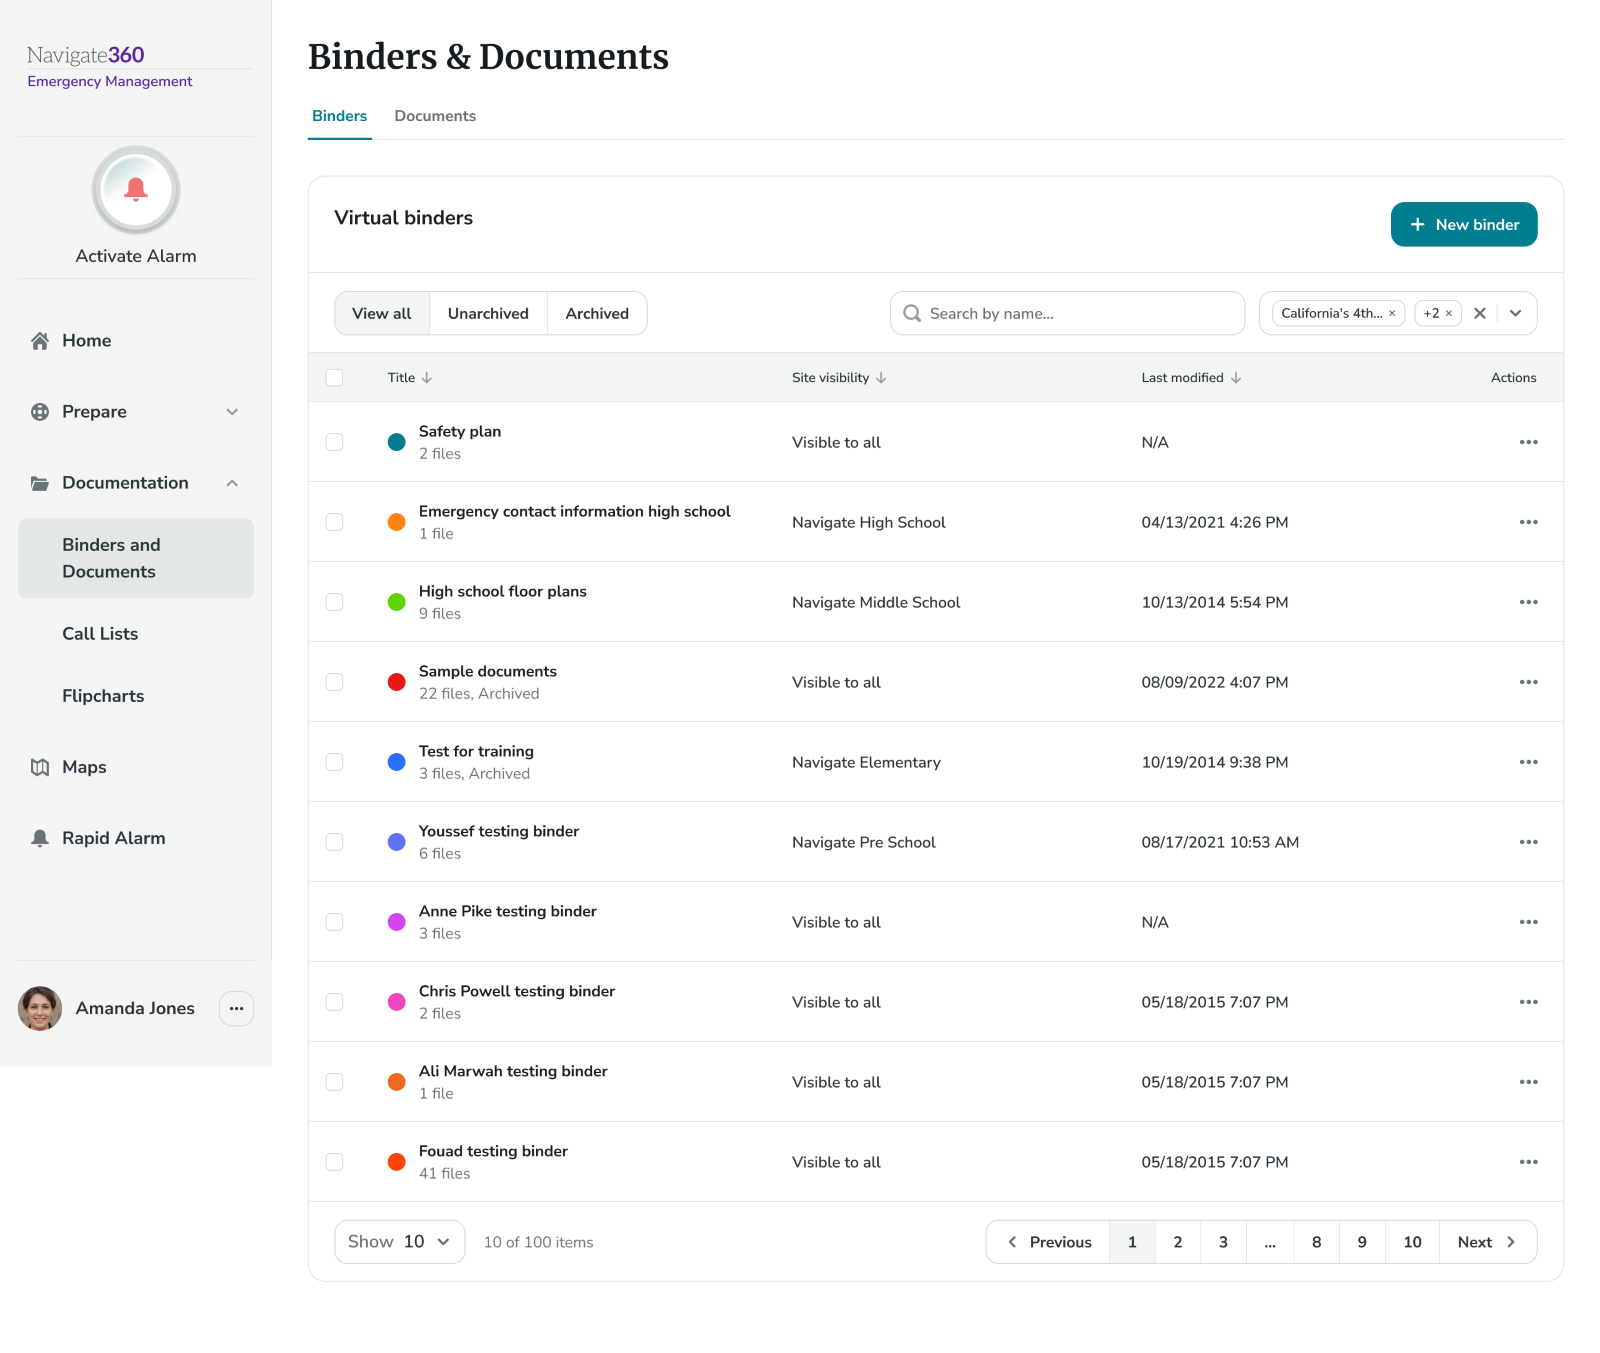
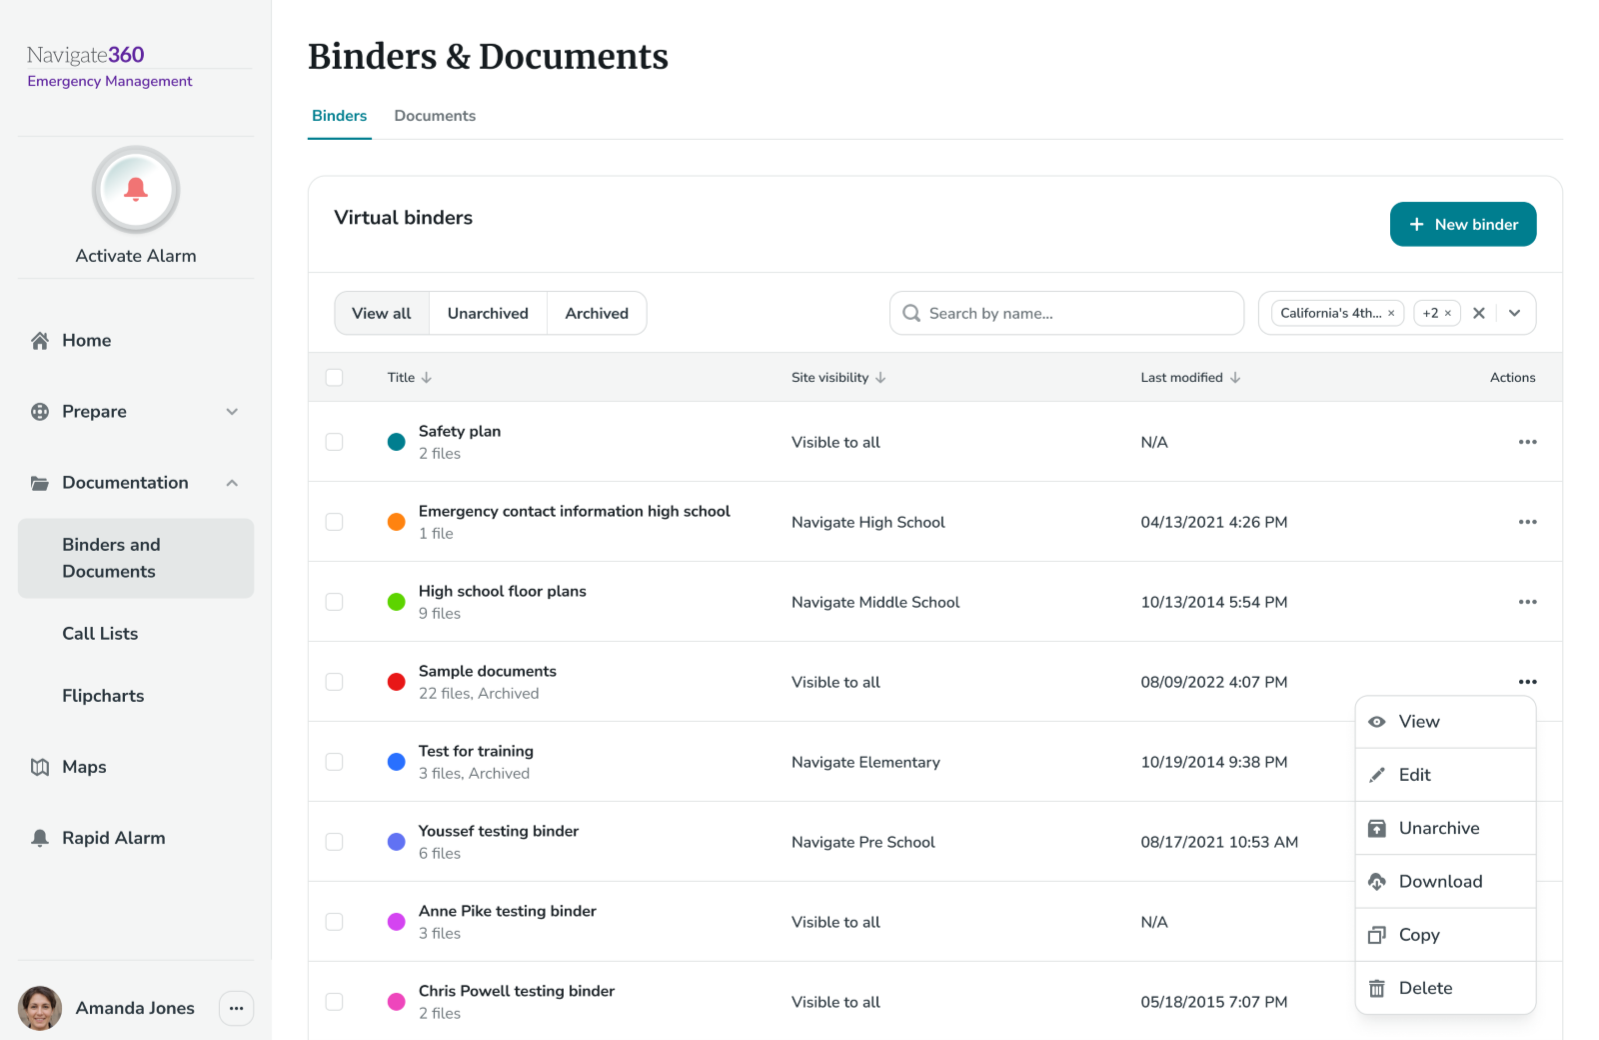
Viewing and managing binders:
Admins can use the 3 dot actions menu to the right of the binder in the binders dashboard to do the following:
- View/edit
- Archive/Unarchive
- Download
- Copy
- Delete
Editing or constructing a binder:
Once a binder has been added, users can add content to it by clicking on the binder title or clicking Edit from the 3 dot actions menu to the right of the binders dashboard. This will navigate the user to the binder details page.
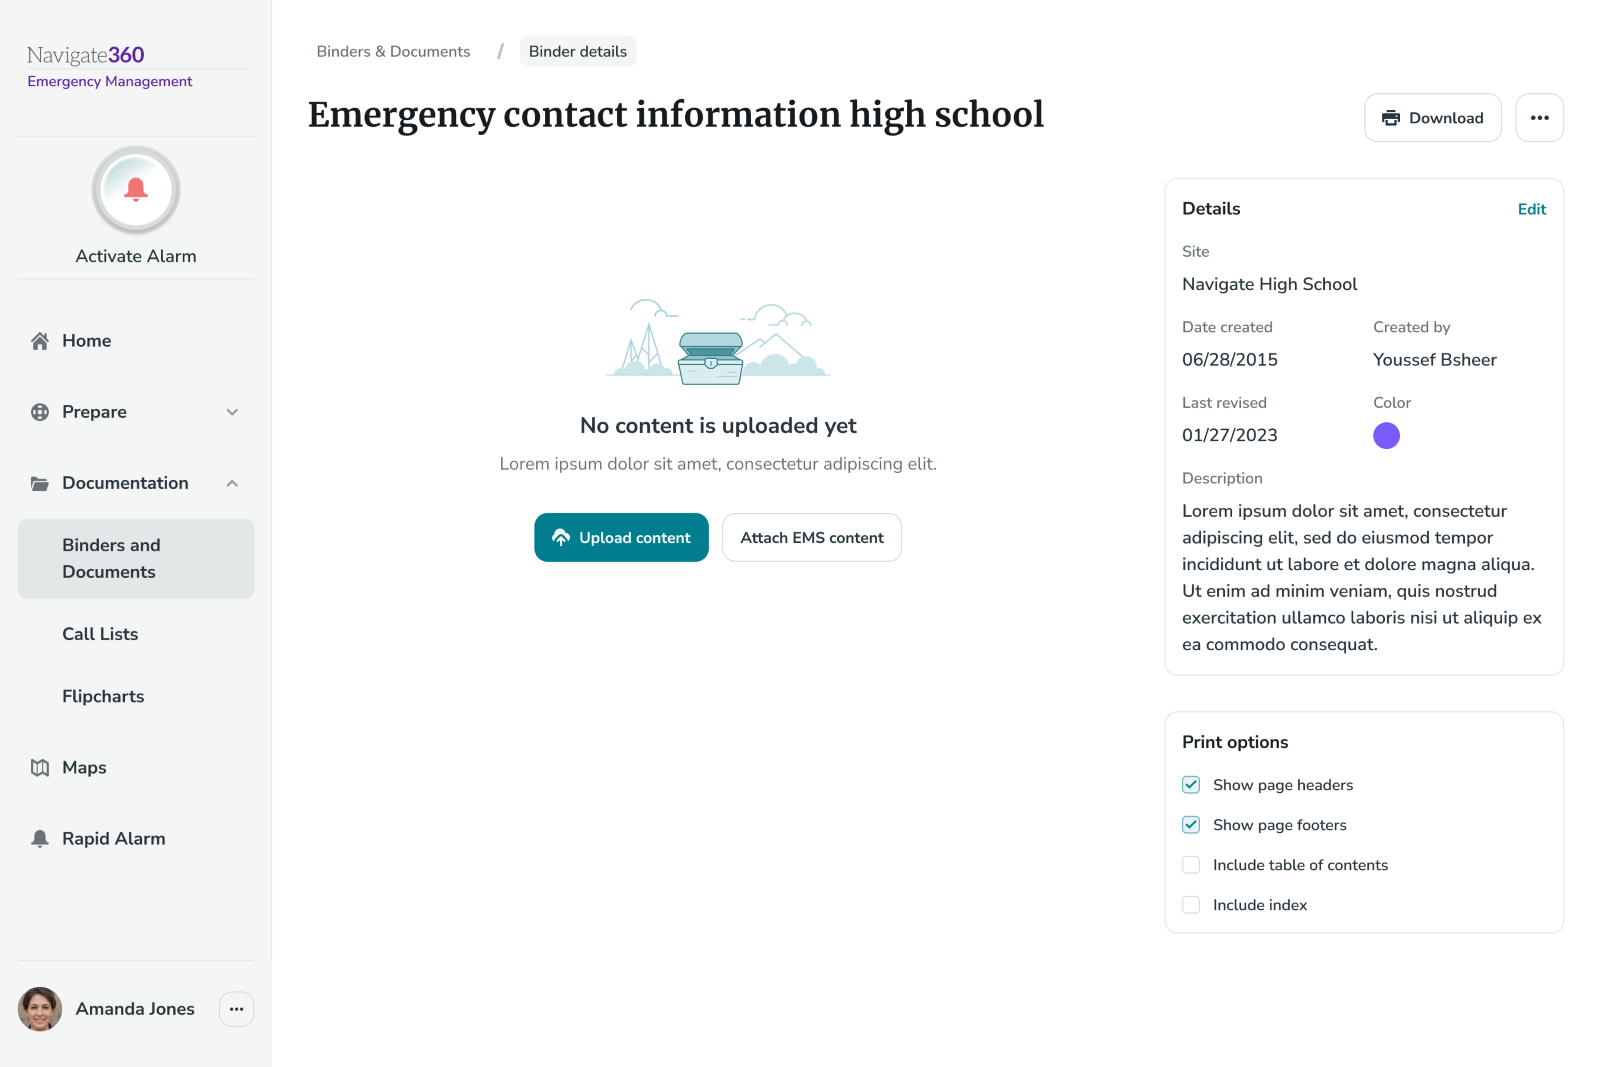
To add content to the binder, click Upload content or Attach EMS content on the binder details page.
- Clicking Upload content will enable users to drag or search for a new file to be uploaded
- Clicking Attach EMS content will enable users to select a file by searching for a site and then document type. This will pull up a list of all documents that exist in the documents dashboard for that specific site.
All binder contents will be displayed in the binder details page and can be searched, filtered, reordered and/or deleted.
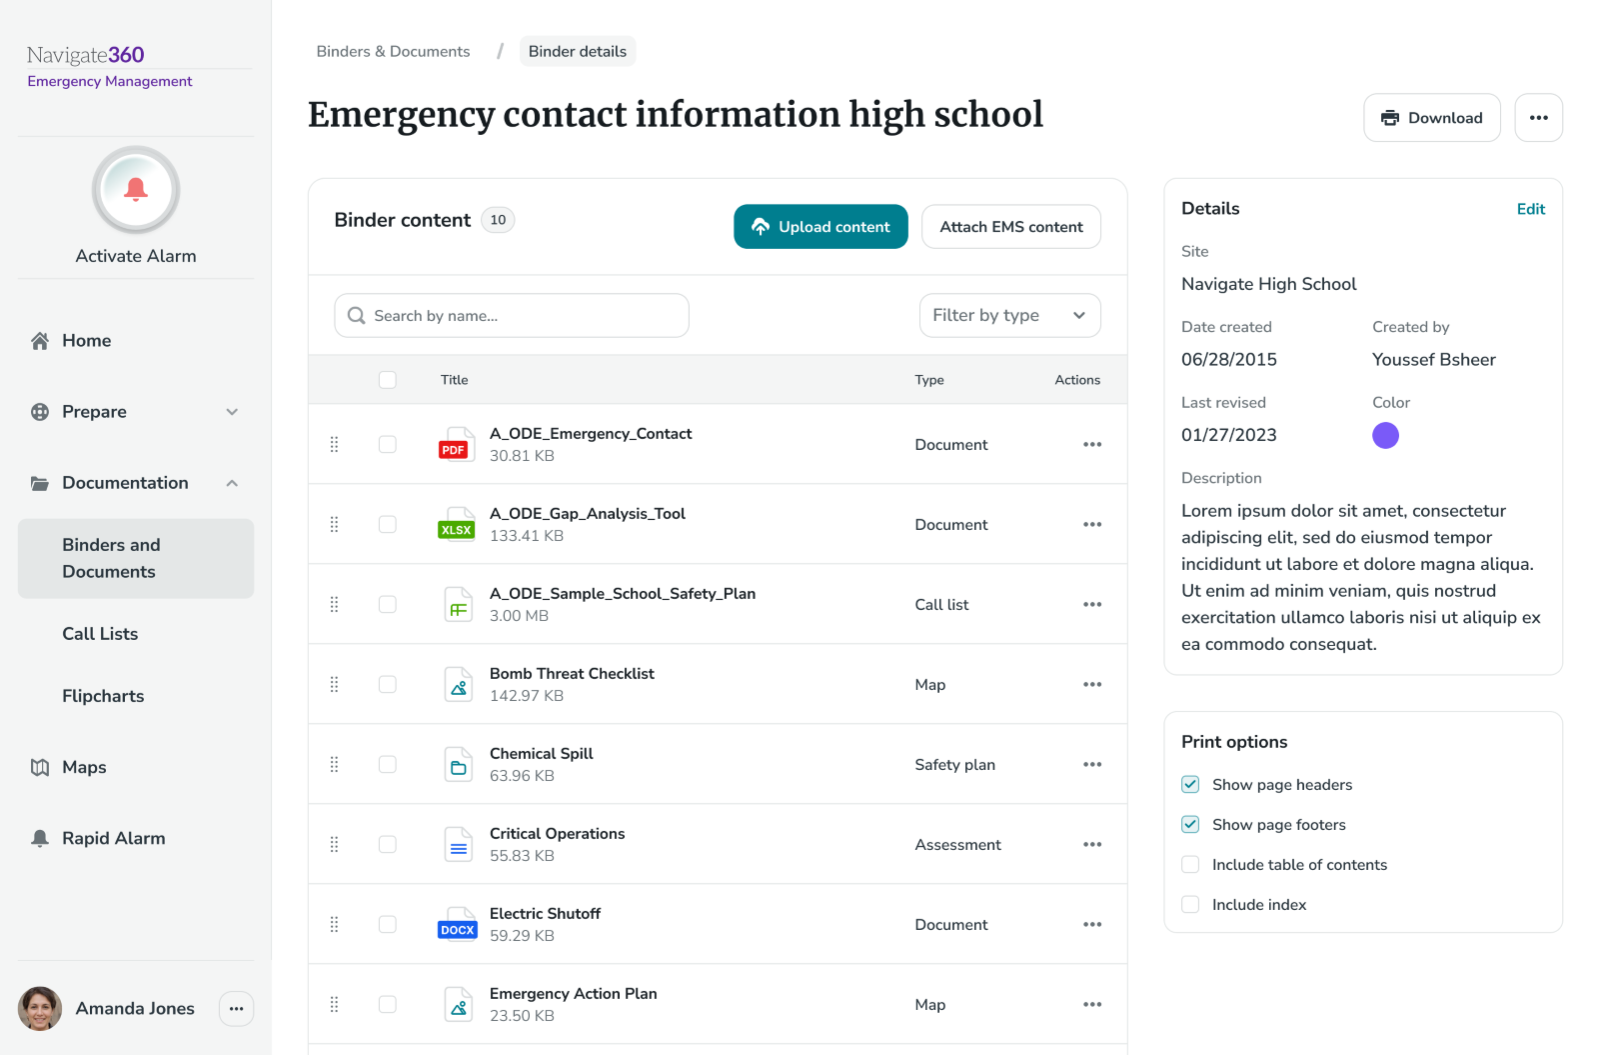
Basic binder details can be viewed/managed by clicking Edit in the binder details section on the right side of the binder details page.
A binder can be downloaded by clicking Download near the top right corner of the binders detail page.
Lastly, additional actions can be taken on binders using the 3 dot actions menu at the top right corner of the binders detail page:
- Archive/unarchive
- Copy
- Delete