EMS Maps & Floor Plans
Discover how to use maps to better manage and respond to emergency situations.
- Emergency Management Suite
- Navigate360 Training Institute
- Suite360
- PBIS Rewards
-
Behavioral Threat Assessment Case Manager
Getting Started BTA Webinar Links User Management BTA Feature/Function Overview Behavioral Threat Assessment: CSTAG Behavioral Threat Assessment: NTAC Behavioral Threat Management: Suicide Risk Screening and Management Analytics & Reporting Troubleshooting Release Notes & Updates Click here for BTA Resources / User Guides State Specific Guidance
- Visitor Management
- School Check In
- ALICE Training Institute
- Detect - Social Sentinel
- P3 - Anonymous Tip Reporting
- Resources
- Back-to-School
Table of Contents
Uploading a Floor PlanEditing a Floor PlanNavigating the MapAdding IconsAdding Text LabelsColor Coding Map AreasRecommended Color CodingUploading a Floor Plan
From the Dashboard, choose Maps & Floor Plans. In order to upload a map, it must be in .jpg, .png, or .pdf format.
If uploading a .pdf, only the first page of the file will be uploaded. If you have multiple maps on a single PDF, you will need to break them into separate files first.
The higher the resolution or size of the image the better, though it's best not to exceed 3000 pixels high or wide (approx. 30 inches) as they can become difficult to upload and manage.
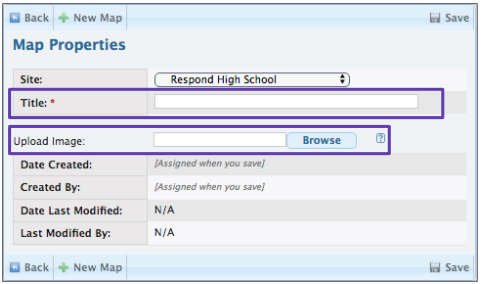
To upload a new map, click Add a Map.
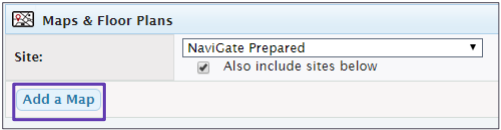
This opens the new map page. Select the site location, give your map a name, browse to locate the file on your computer and make sure to save. Repeat this process for each map.
See Also: Adding Maps
Editing a Floor Plan
From the Maps & Floor Plans page, click the Edit button to the right of the map you want.
Or if you're already viewing a map, you can click Edit at the top of the page.
To know you're in edit mode, you will see the option "Done Editing." If you still have a button that reads “Edit,” you are in view-only mode.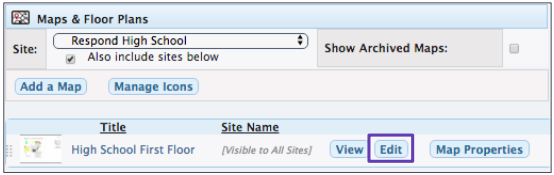

See Also: Editing Maps
Navigating the Map
Basic map navigation features include:
- Scroll by using your mouse wheel or by using the bar at the left.
- To move around the page when zoomed in, left-click and drag the map around the screen to move to different portions.
- For a better view of the whole map click the small square on the left bar to fit to window.
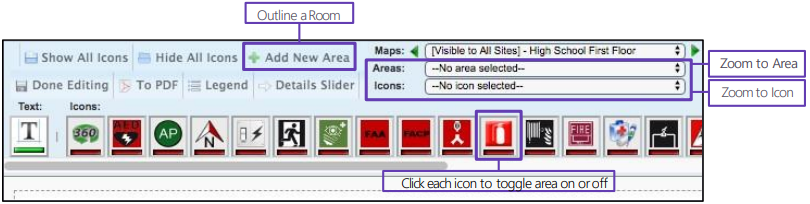
- To zoom to a specific icon or area you have created, select it from the drop-down menus at the top right of the page.
- Set all icons to currently show or hide by selecting either of those buttons in the upper left of the page.
- Click on any icon in the row to toggle the corresponding icons on or off.
Adding Icons
To add an icon to the map, left-click, hold, and drag the icon down to the map. Release when the icon is located where you desire. If you need to move or adjust its location, click and hold the blue dot in the middle of the icon to drag and drop it elsewhere.
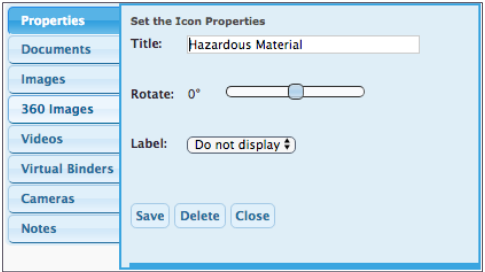
After you drag the icon to the screen, a Properties box will appear for the icon.
For each icon, you have the option of how it will be displayed, what notes are added or how items are attached.
- Properties: Rename the icon, rotate (useful for cameras or a direction marker) and set whether the label shows on the map. This is useful when labeling exits with the door designation.
- Documents: Attach a document to link to this icon.
- Images: Choose to attach an image to link to this icon.
- Videos: This allows you to link a video to this icon.
- Cameras: This allows you to set up and link a live feed camera to this icon. You will need to name the camera and enter its IP address.
-
Notes: This is for any text you want related to this icon. Many times it is used to store username and password for password-protected cameras.
Adding Text Labels
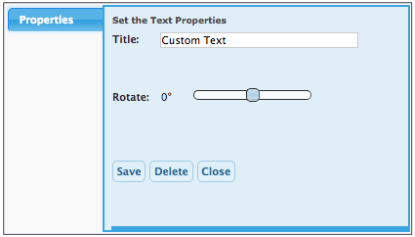
In addition to icons, you can add text labels to the Map. These labels can have a title and may be rotated. They are unable to have images or documents linked to them.
To add a text label: click, hold, and drag the text icon where you desire. Just like an icon, it can be moved by clicking and holding the blue dot.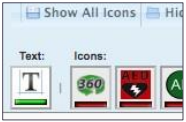
Color Coding Map Areas
To create a new area, click Add New Area while in edit mode. To draw an area we “connect the dots.”
Left-click one of the corners of the room where you want to create an area and place a blue dot. Working your way around the outside of the room, click dots in each of the corners. You can create as many dots as necessary to handle multi-shaped or curved rooms.
If any of the blue dots are not where you would like them, click, hold and drag to adjust them. Right click on a blue dot to remove it.
After you save, you will have additional options to attach items to this area.
This will bring up the Properties box similar to the one used for icons. Give your area a title, choose whether to display the title, choose a color and click save.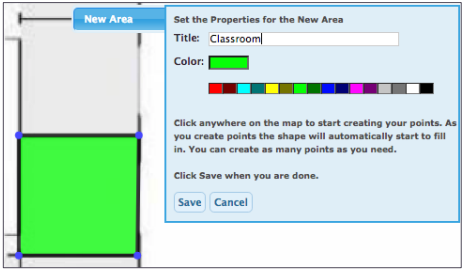
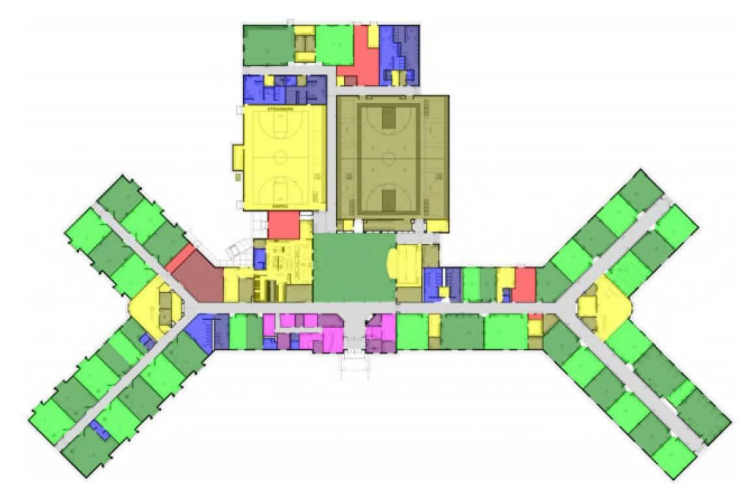
Recommended Color Coding
While no national standard exists for room colors, below are suggestions based on our experience. The color legend below the map is able to be modified to match the color scheme you choose.
Classroom |
Green |
Restroom |
Blue |
Maintenance / Service Area |
Red |
Storage / General Office / Library / Gymnasium |
Yellow |
Administration Office |
Pink |
Locker Room |
Teal |
Hallway / Stairwell |
Gray |
When areas of the same type are next to each other, we suggest you alternate shades of that color. For example, if you have two classrooms next to each other, one would be dark green and the next would be light green.