CSTAG: Creating and Accessing Cases
Learn how to create and access cases in the BTA CSTAG Model, gaining valuable insight into the process.
- Emergency Management
- Campus360
- Connect360
- PBIS Rewards
- Hall Pass
- Preparation & Response Training
- Behavioral Case Manager
- Visitor Management
-
Compass Curriculum
Training Workshops Getting Started On-Demand Release Notes & Updates Data & User Management Compass Curriculum for Students, Staff, & Families Compass Behavior Intervention Compass Mental Health + Prevention Compass for Florida - Character Ed, Resiliency, & Prevention Compass for Texas - Character Ed Analytics & Reporting Additional Resources
- School Check In
- ALICE Training Institute
- Digital Threat Detection
- Anonymous Tip Reporting
- Resources
- Back-to-School
Creating Cases
Step 1: Navigate to the “+Create Case” in the upper right part of the screen.
Step 2: Select the desired case model and “Proceed”.

|
Alternatively, you can create a new CSTAG case from your Home screen by selecting “+New Case”. 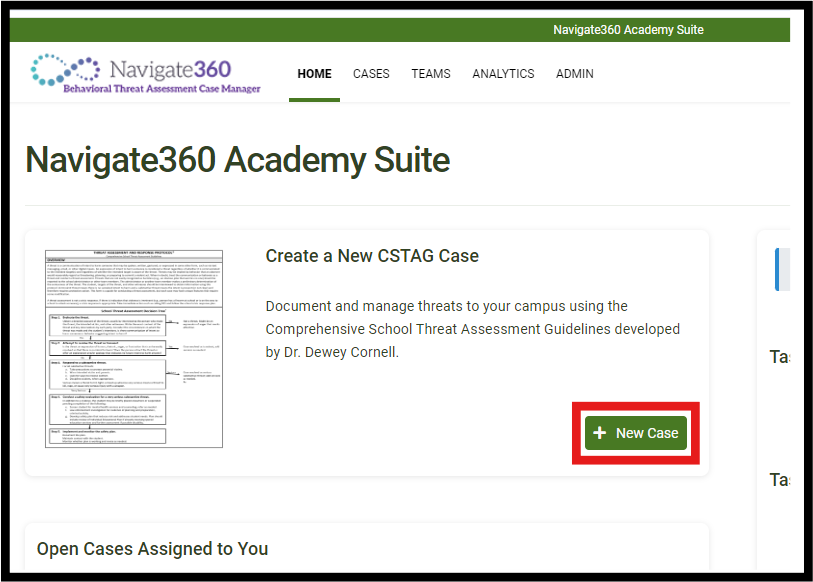
|
Accessing Cases
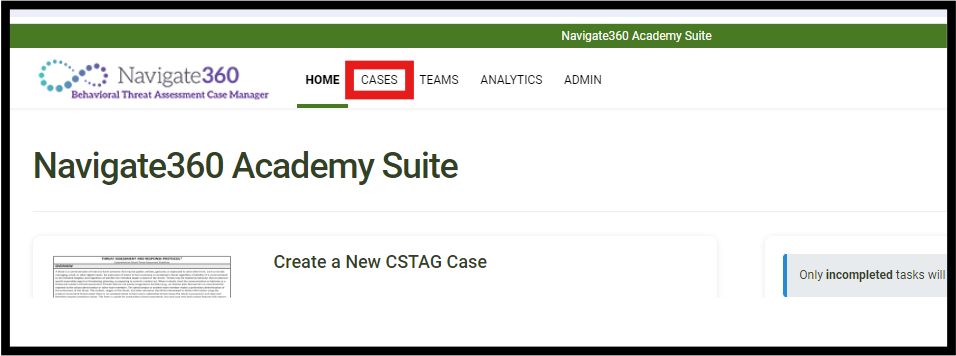
Step 1: Navigate to the “Cases” tab in the toolbar.
Step 2: Locate the desired case from the list available in “My Cases,” select the vertical three-dot ellipsis and “View.”.
- You can utilize built-in filters to search case data, including building, team, classification, model, tags and active status.
|
Alternatively, you can access cases assigned to your team from your homepage under “Open Cases Assigned to You”. 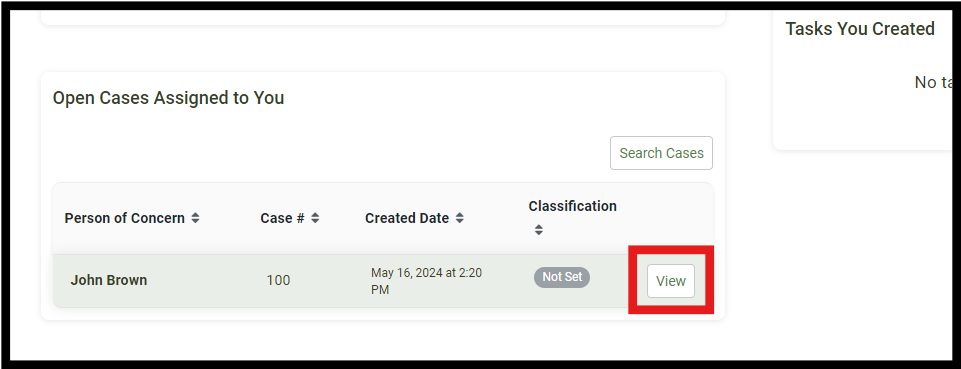
|