Technical Importing Guide- School Check In
- Emergency Management
- Campus360
- Connect360
- PBIS Rewards
- Hall Pass
- Preparation & Response Training
- Behavioral Case Manager
- Visitor Management
-
Compass Curriculum
Training Workshops Getting Started On-Demand Release Notes & Updates Data & User Management Compass Curriculum for Students, Staff, & Families Compass Behavior Intervention Compass Mental Health + Prevention Compass for Florida - Character Ed, Resiliency, & Prevention Compass for Texas - Character Ed Analytics & Reporting Additional Resources
- School Check In
- ALICE Training Institute
- Digital Threat Detection
- Anonymous Tip Reporting
- Resources
- Back-to-School
Auto Import Utility
Auto Import Utility Available Fields:
*Required
| Class | Faculty & Staff | Students |
| CLASS NAME * | EMPLOYEE ID * | STUDENT ID * |
| TEACHER FIRST NAME | FIRST NAME * | STUDENT FIRST NAME * |
| TEACHER LAST NAME | LAST NAME * | STUDENT LAST NAME * |
| CLASS ID | JOB CLASSIFICATION NAME * | CLASS NAME * |
| TEACHER EMPLOYEE ID * | JOB CLASSIFICATION CODE | CLASS ID |
| SCHOOL ID* | DATE OF BIRTH | DOB |
| TEACHER FIRST NAME | ||
| HOME PHONE | TEACHER LAST NAME | |
| WORK PHONE | TEACHER ID | |
| CELL PHONE | SCHOOL ID* | |
| STREET ADDRESS | ||
| STREET ADDRESS 2 | ||
| CITY | ||
| STATE | ||
| ZIP | ||
| DRIVER LICENSE # | ||
| BIOCHECK ID | ||
| SCHOOL ID* |
| Parents | Volunteer | Vendor |
| PARENT ID | FIRST NAME * | FIRST NAME * |
| FIRST NAME * | LAST NAME * | LAST NAME * |
| LAST NAME * | VOLUNTEER TYPE * | VENDOR PASSWORD |
| DATE OF BIRTH | VOLUNTEER ID | VENDOR ID |
| DATE OF BIRTH | DATE OF BIRTH | |
| HOME PHONE | ||
| WORK PHONE | HOME PHONE | HOME PHONE |
| CELL PHONE | WORK PHONE | WORK PHONE |
| STREET ADDRESS | CELL PHONE | CELL PHONE |
| STREET ADDRESS 2 | STREET ADDRESS | STREET ADDRESS |
| CITY | STREET ADDRESS 2 | STREET ADDRESS 2 |
| STATE | CITY | CITY |
| ZIP | STATE | STATE |
| DRIVER LICENSE # | ZIP | ZIP |
| BIOCHECK ID | DRIVER LICENSE # | COMPANY NAME |
| STUDENT ID* | BIOCHECK ID | COMPANY STREET ADDRESS |
| RELATIONSHIP TYPE | VOLUNTEER EXPIRATION DATE | COMPANY STATE |
| SCHOOL ID* | PRINT BADGE | COMPANY ZIP |
| FAMILY ID# | COMPANY CITY | |
| VOLUNTEER BACKGROUND DATE | COMPANY PHONE | |
| SCHOOL ID* | COMPANY WEBSITE | |
| DRIVERS LICENSE # | ||
| BIOCHECK ID | ||
| VENDOR EXPIRATION DATE | ||
| PRINT BADGE | ||
| SCHOOL ID* |
Auto Import Utility Process
Introduction
School Check IN’s Auto Import Application was designed to facilitate the import process and provide you with the ability to automatically update your data on a regular basis.
How does the School Check IN Auto Import Application work?
We will use your student information system (SIS) as an example to explain the process. From your SIS, create and run a student export. Save this export so you can re-run it again. In this export script, designate a specific location on a specific computer. This will be called your “SCI Import Computer.”
On the same SCI Import Computer, install the School Check IN Auto Import Application. Once installed, this application will run as a service on your SCI Import Computer. Configuring the import requires that you “map” the data fields and save the mapping. It is very important that the SIS export process retains the same field order.
Once configuration is complete and the Auto Import Application knows where your import files will be found (designated location), then the application will automatically “sense” when a new import file is deposited and will automatically import the data from the new import file. It is very important that this designated location remain constant. Should the designated location change, then you will need to update the configuration and mappings in the Auto Import Client. Please follow the steps below to install and configure the Auto Import Client Application.
For the Auto Import Application to work, it must:
- Be installed on the SCI Import Computer. Both the files to be imported and the Auto Import Application must reside on the same computer. Installing the Auto Import Application on one computer with import files on a networked drive is not supported.
- Run as a service on the SCI Import Computer.
- Have the Auto Import Application properly configured with the correct field mappings.
- Have new data to import.
- Have Internet access.
- .Net Framework 4 Extended
- .NET 4.0 is required.
- Visual C++ 2005.
- Visual C++ 2008 Redistributable –x86
Port 22 needs to be open in the district firewall for SFTP file transfers..
Can we use the SCI Import Computer for other tasks?
Yes, the Auto Import Client runs as a background service and should not interfere with normal daily use.
When are imports done?
All imports done by Auto Import Client are done overnight (between 6pm EST and 6am EST). This rule applies, regardless of file size, or the number of records in the file.
Can Excel files be imported?
Yes, Excel files can be imported, but be advised that Excel may add its own formatting to the exported data. For example, if a student ID# has leading zeros in the number “000012456”, and when open in Excel, the leading zeros may be stripped away, so the student ID# becomes “12456”.
Can Tab delimited files be imported?
No, this type of export file format cannot be imported.
Field Headers
Yes, use field headers in import file.
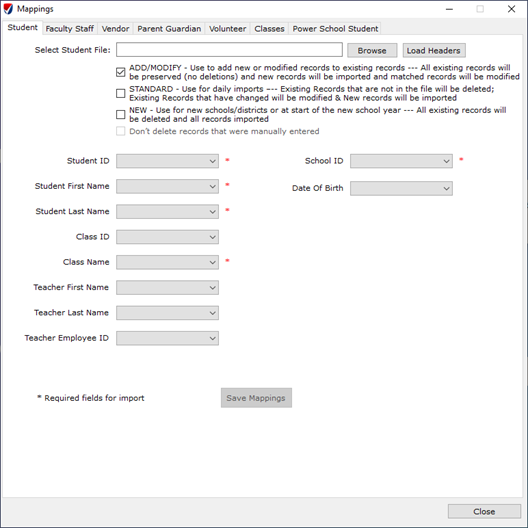
What do the Import Options do?
ADD/MODIFY – Use to add new or modified records – All existing records will be preserved (no deletions) and new records will be imported and matched records will be modified. Records that exist and are NOT in the import file will NOT be deleted. These records will remain.
STANDARD – Use for daily imports – Existing records that are not in the import file will be deleted, Existing Records that have changed will be modified & New Records will be imported.
NEW – Use for new school/districts or at the start of a new school year. – All existing records will be deleted and all records in the import file will be imported.
Don’t Delete records that were manually entered. This option should be checked when schools have manually entered data and/or modified a record and want to preserve this information and do not want it deleted. … i.e. School has assigned Key Fob ID#s to Faculty & Staff and do not want this deleted.
STANDARD is recommended.
Installation
The application requires .NET 4.0., Visual C++ 2005 and 2008 Redistributable Package. If you don’t have these components installed on your computer, the installer will assist you with installing them.
- Download the Auto Import Application from schoolcheckin.com/files/PS_Import.zip
- Double-click the unzipped setup.exe file to start the installation.
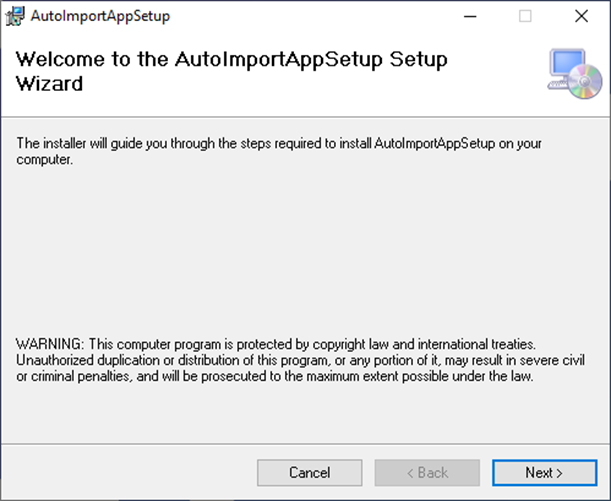
- The Setup window will be displayed; click Next:
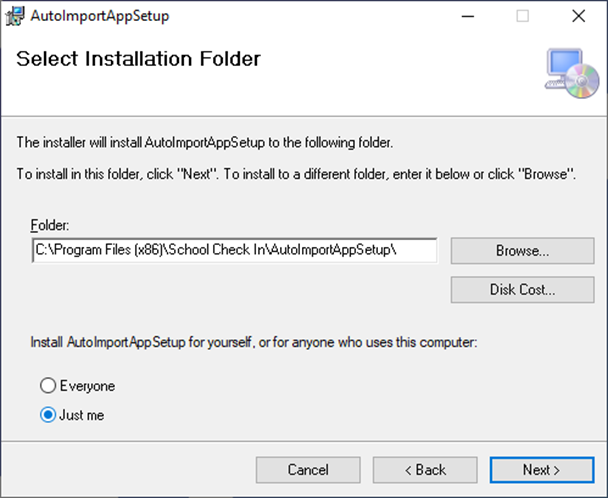
- Select a location where the application will be installed; click Next.
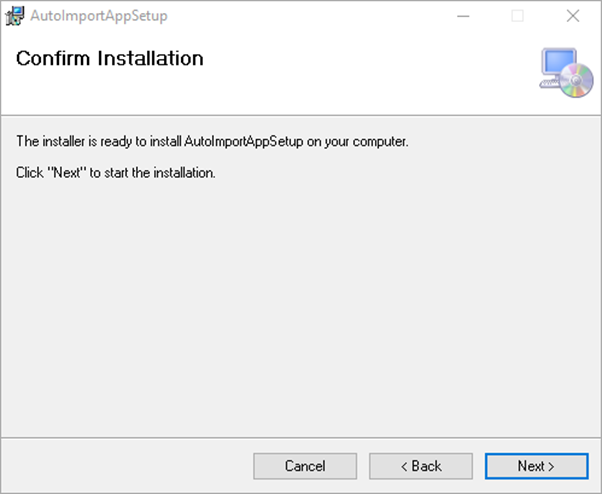
- Click Next on the Confirm Installation screen to start install:
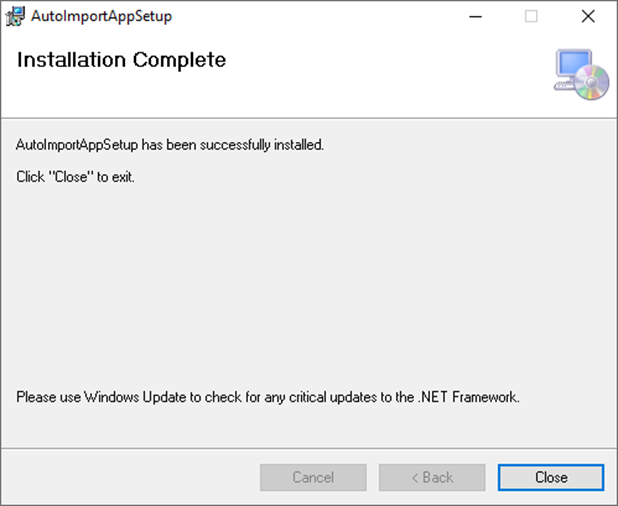
- When the Installation Complete screen appears, click Close.
To access the Auto Import Application, click on the icon on your desktop.
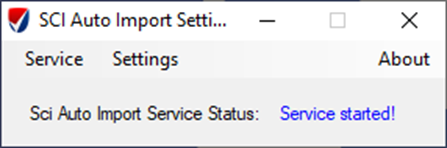
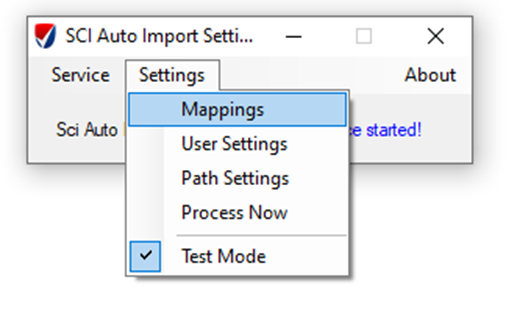
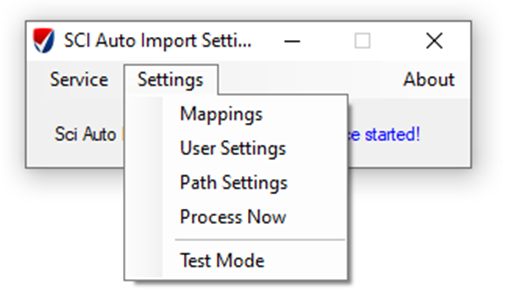
The SCI Auto Import Settings application will then appear:
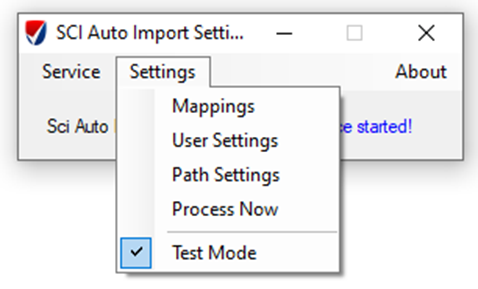
For accessing the application’s menu, click on the Settings drop down menu. The test mode is ON by default.
Please follow the Setup Process in this order. The order does NOT match the drop down list below under Settings. Setup in the following order:
- User Settings
- Path Settings
- Mappings
- Test Mode
- Process Now
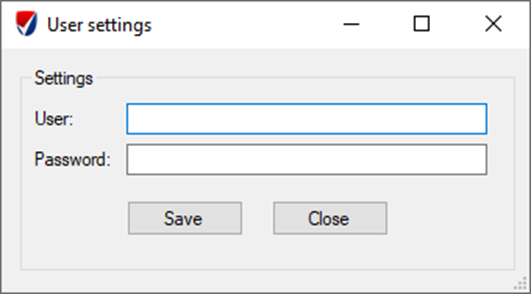
User Settings
Enter your www.sci.schoolcheckin.net credentials and click the Login button (Found on the application in the Settings drop down menu under User Settings). You need to enter your DA (District Administrator) credentials.
If the login process is successful, the Log in box will disappear.
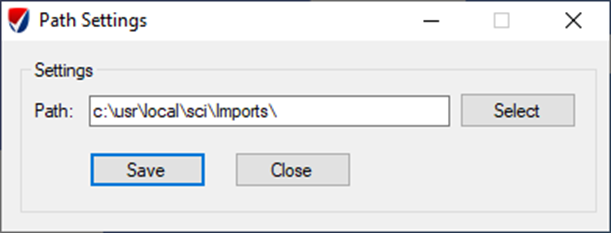
Path Settings
Indicates the folder path for the imports files. Click the Select button. This will open a Browse option. Browse to the location of where the import file will be found. Click Save to keep the location.
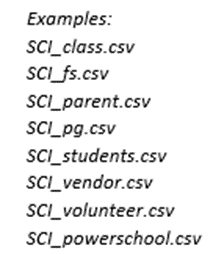
File Names:
Note: The import file names should contain a specific word for each import type:
In case of Student import, the files name must contain the text “student” word;
In case of Class import, the files name must contain the text “class” word;
In case of Faculty/Staff import, the files name must contain the text “faculty” or “fs” words;
In case of Parent/Guardian import, the file name must contain the text “parent” or “pg” words. In case of Vendor import, the files name must contain the text “vendor” or “ven” word;
In case of Volunteer import, the files name must contain the text “volunteer” or “vol” word.
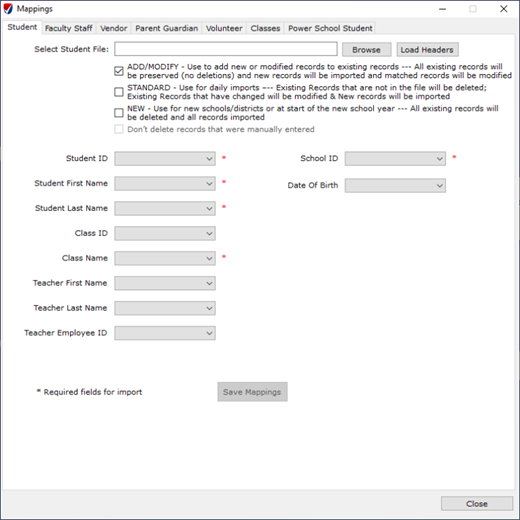
Mappings
The Mapping Process is the same regardless of which data you are trying to map.
- Click the Browse button.
- Navigate to the location of the file to be imported.
- Select the file.
- Check the import option.
STANDARD is recommended. - Click on the field pick list.
- Select the correct field.
- Select and map all required * fields.
- When complete, click Save Mappings button.
Repeat mapping process for other tabs with data to be imported.
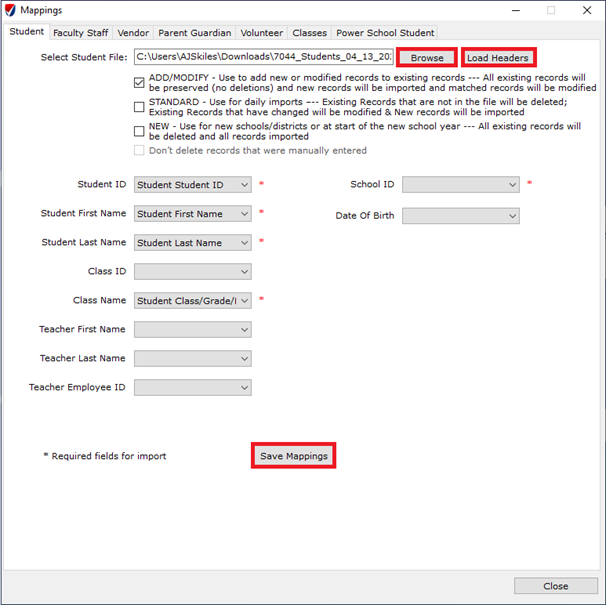
To modify an existing saved mapping, do the following:
- Click [Browse] button.
- Navigate to the location of the file to be imported.
- Select the file.
- Click the Load Headers button
- Saved headers should now be visible.
Students
Student ID, Student First Name, Student Last Name, Class Name, School ID
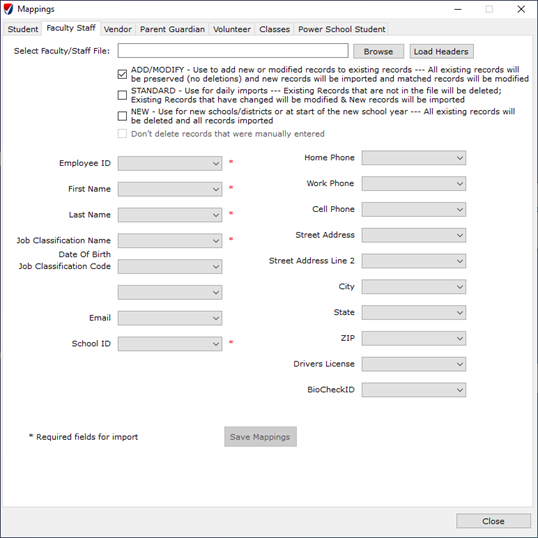
Faculty Staff
Employee ID, First Name, Last Name, Job Classification, School ID
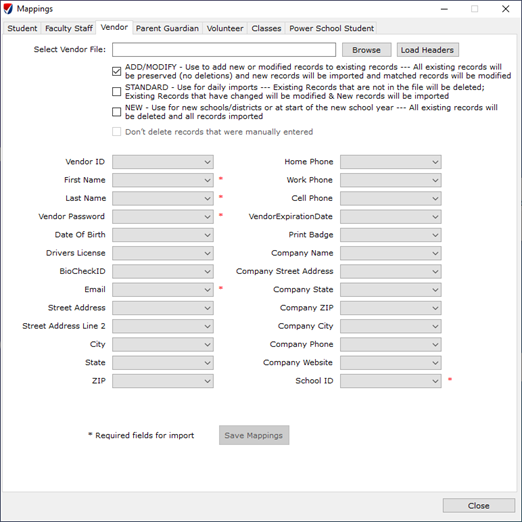
Vendor
First Name, Last Name, Password, Email, School ID
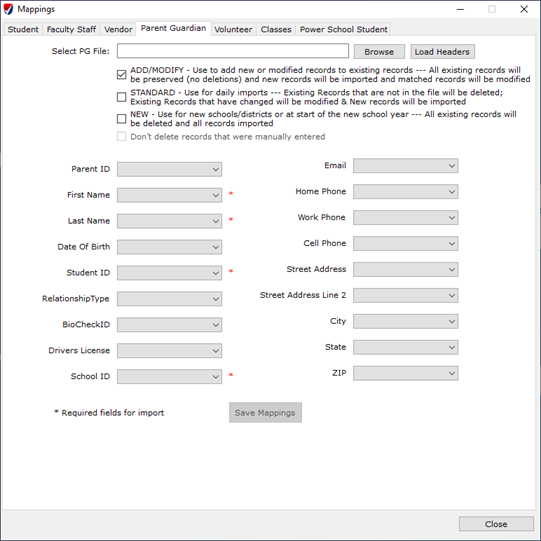
Parent Guardian
First Name, Last Name, Student ID, School ID
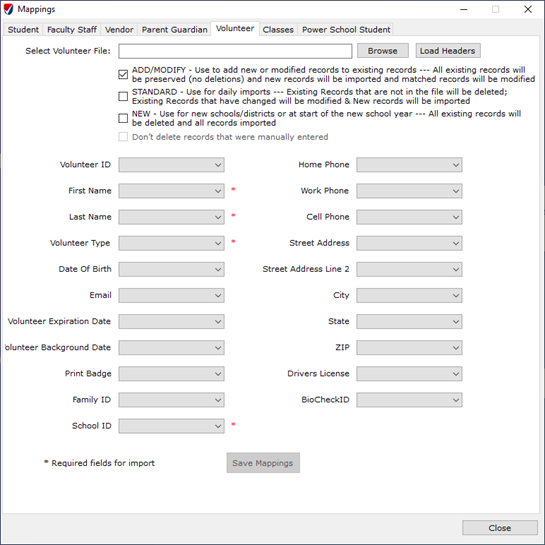
Volunteer
First Name, Last Name, Volunteer Type, School ID
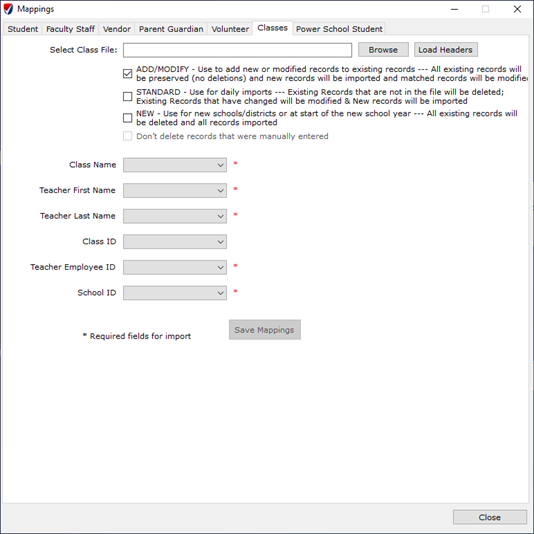
Classes
Class Name, Teacher First Name, Teacher Last Name, Teacher Employee ID, School ID
The types of files that can be mapped are CSV or XLS . The column names from the import files must be mapped in order to upload them to the server. The mandatory columns are marked with an asterisk. After mapping fields, select Save Mappings.
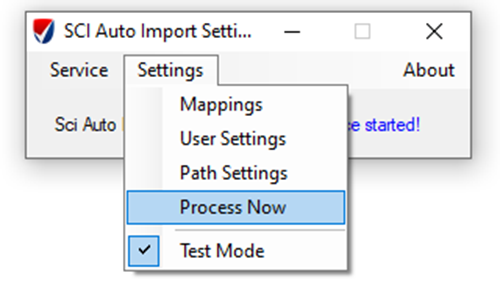
Process Now
The client service will upload this file on the server at a specific time. If a user wants to upload file manually then they can do this by clicking on Process Now button under Settings Menu.
This will UPLOAD your data files, however the import process itself will run between 6pm to 6am, allowing the data to show in www.schoolcheckin.net.
What Happens
If the Process Now button is clicked or a live import is done, the following steps will be done:
- The file to be imported will automatically be uploaded to the School Check IN servers at www.schoolcheckin.net.
- The file will be placed in queue to be imported overnight between 6 pm to 6 am.
- The source file on your local computer will be renamed and moved to a sub-folder under the same primary folder where the import files are being located. The processed file will be renamed. For example, if your file is named “students.csv”, then the file will be renamed to “students03122015_13:20.csv” and moved to the sub-folder. The primary folder will no longer show the original file.
Test Mode
Unchecking test mode will ready the application to look at the path folder for any new files and process them to be uploaded to the School Check IN server.
Uncheck Test Mode to use
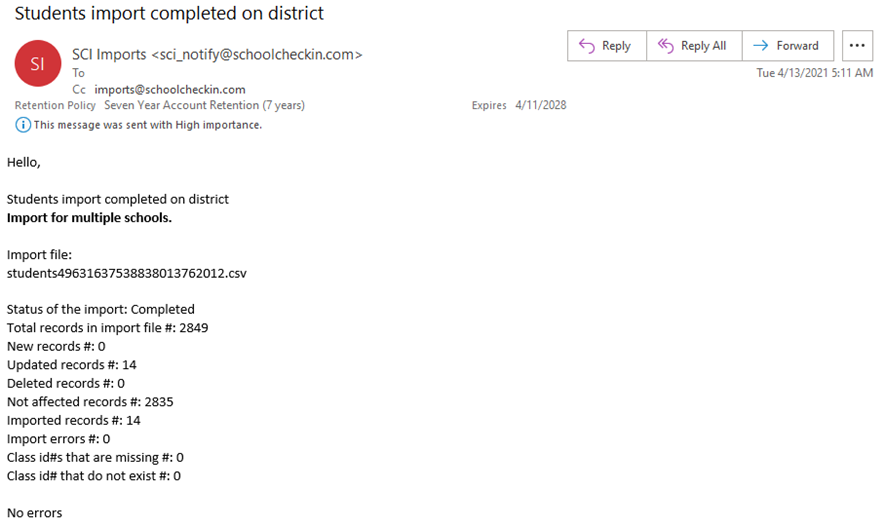
Email Alert
Once the nightly import has been completed, contacts set up to receive the import confirmation email will receive a similar email to the one below:
Power School Auto Send
PowerSchool Auto Send Available Fields
| Students | All Contacts | Faculty & Staff |
| Student Number | First Name | First Name |
| First Name | Last Name | Last Name |
| Last Name | Student Number | SchoolID |
| Grade Level | SchoolID | Teacher Number |
| DOB | Job Classification | |
| SchoolID | Email Address |
In this import, order of the fields matter.
Power School Auto Send Process
Power School must be enabled and configured at the District level by the SCI Master Admin.
All Contacts mode also needs to be enabled in conjunction with this.