Assigning RFID Fobs- School Check In
Learn how to quickly and accurately assign RFID fobs for a streamlined school check-in process.
- Emergency Management
- Campus360
- Connect360
- PBIS Rewards
- Hall Pass
- Preparation & Response Training
- Behavioral Case Manager
- Visitor Management
-
Compass
Training Workshops Getting Started On-Demand Data & User Management Compass Curriculum for Students, Staff, & Families Compass Behavior Intervention Compass Mental Health + Prevention Compass for Florida - Character Ed, Resiliency, & Prevention Compass for Texas - Character Ed Analytics & Reporting Release Notes & Updates Additional Resources
- School Check In
- ALICE Training Institute
- Detect
- Anonymous Tip Reporting
- Resources
- Back-to-School
- Go to schoolcheckin.net and log in as the site administrator (SA).
If you are the site administrator and forgot your password, you can click “Forgot your password?”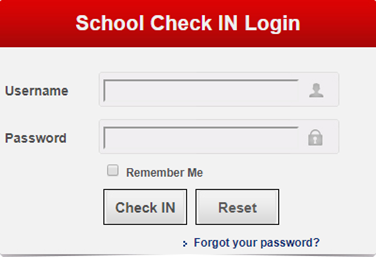
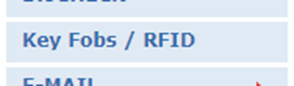
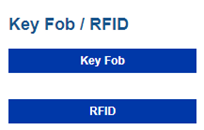
- Click the “Key Fobs / RFID” button in the Main Menu.
- Click on the “RFID” button.
- Click the YES option button for “Adults Use RFID” and/or “Students Use RFID”.
- Click the [Save Changes] button.
- Click the blue “Assign Student RFID” or Assign Adult RFID button.
- Start entering the last name or ID of the employee/student you wish to assign a RFID. As you type the last name or ID of the employee, the list will begin to filter its results.
- Click on the employee’s name to proceed.
- Type/Scan the RFID Fob ID #.
Key Fob Password is not required. - Click “Save Changes” when completed.
- Allow a minute or so for this information to be delivered to the check in station.
- On Check in station, test RFID by checking person in by scanning the RFID at the Main Menu.