Respond Data and Setup- EMS
Review your data in EMS and ensure the proper settings for the Respond module
- Emergency Management Suite
- Navigate360 Training Institute
- Suite360
- PBIS Rewards
-
Behavioral Threat Assessment Case Manager
Getting Started BTA Webinar Links User Management BTA Feature/Function Overview Behavioral Threat Assessment: CSTAG Behavioral Threat Assessment: NTAC Behavioral Threat Management: Suicide Risk Screening and Management Analytics & Reporting Troubleshooting Release Notes & Updates Click here for BTA Resources / User Guides State Specific Guidance
- Visitor Management
- School Check In
- ALICE Training Institute
- Detect - Social Sentinel
- P3 - Anonymous Tip Reporting
- Resources
Table of Contents
Data ReviewData Review – Staff ListData Review – User SettingsData Review – Class ListData Review – Class InformationData Review – Student ListData Review – Student InformationRespond SettingsData Review
Before testing with the Respond module, make sure to review staff, classes, and student data to ensure everything is correct.
Select Respond from the Dashboard.
On the Respond Dashboard, select Manage Your Data.
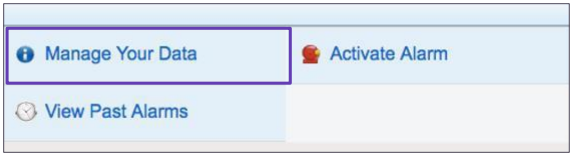
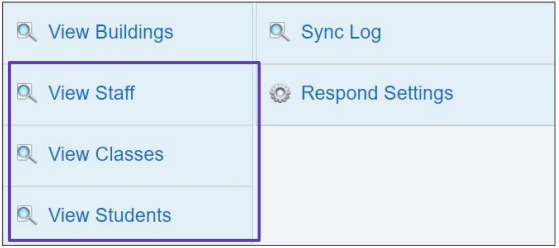
To get started, select View Staff, View Classes, or View Students.
See Also: Managing Respond Settings
Data Review – Staff List
Here you can search staff by building, name, status, classes, etc. You will also be able to see a staff member’s username, whether they are using a default password, their Respond view type, whether a PIN number has been set, their class count, and a link to their User Card.
The User Card link goes directly to that individual’s User Account screen. If you need to make any changes to a user’s setting, click User Card.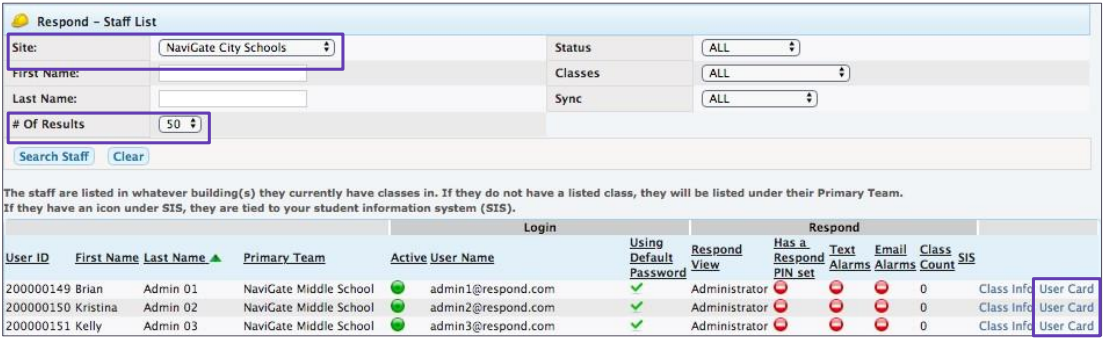
Data Review – User Settings
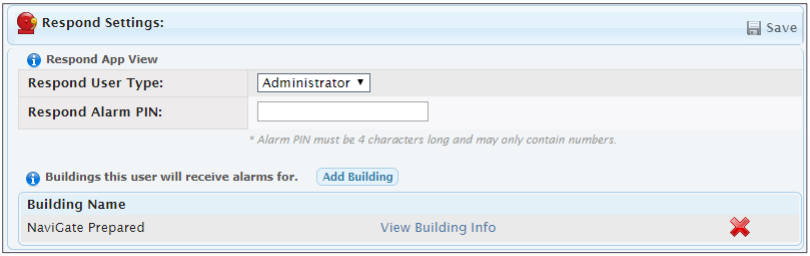
Respond settings are found on the right side within a user’s account. Here, you can establish the following for each user:
- Teacher/staff or Administrator User Type - These user types are for Respond Only and do not grant administrative rights to Emergency Management Suite
- Administrator role has more access during an active Respond alarm. This includes an admin home screen that shows overall counts, missing students, submitted classes, etc. The role also has more chat access and is able to end alarms once started.
- An alarm pin - This is recommended for all users accessing from a mobile device
- Building(s) will receive alarm notifications for can be added using Add Building or removed with the Red X.
Preference settings for notification of Respond Alarms can also be set in the left column. By default, all users with the mobile application will have notifications sent. Receipt of these requires accepting notifications within your device's settings and may be subject to settings including volume and do not disturb.
Users can also choose to receive notifications via SMS text message and/or email. Users should ensure a mobile number is entered in their profile. The email address is the same as what was entered for their username.

Data Review – Class List
On the View Classes screen, you have the option to filter the classes by Site, Course Name, Teacher Last Name, Grade, and limit the # of Results that the search displays.
For a more in-depth look, select the View Class Info link on the right.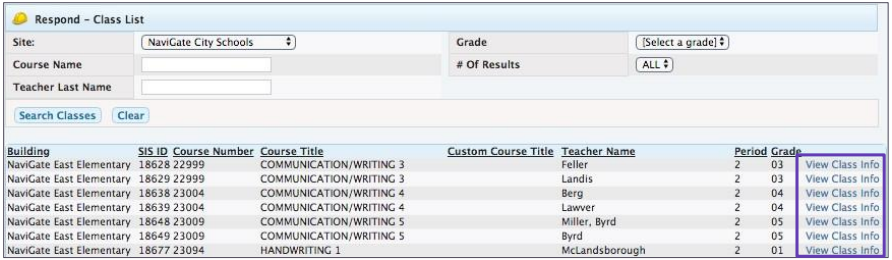
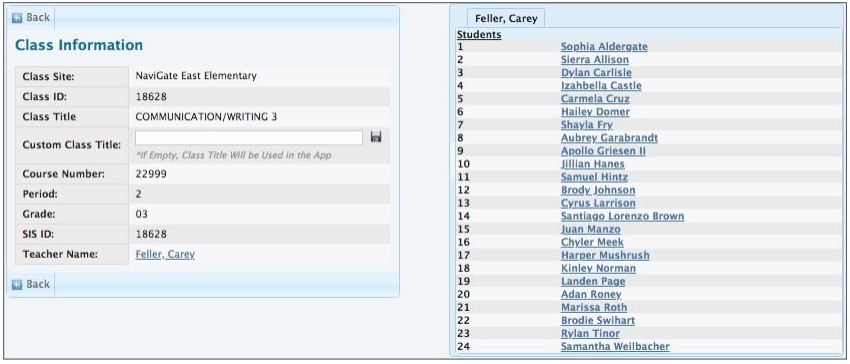
Data Review – Class Information
View Class Info provides a complete overview of the Class Information.
Note the student list on the right-hand side.
Make sure all information is correct. For inaccuracies, the first step is to verify your district's Student Information System is sending over the most current and accurate data.
Data Review – Student List
The Student List will provide the list of active students at each site.
To get a closer look at the students info, select View on the right-hand side.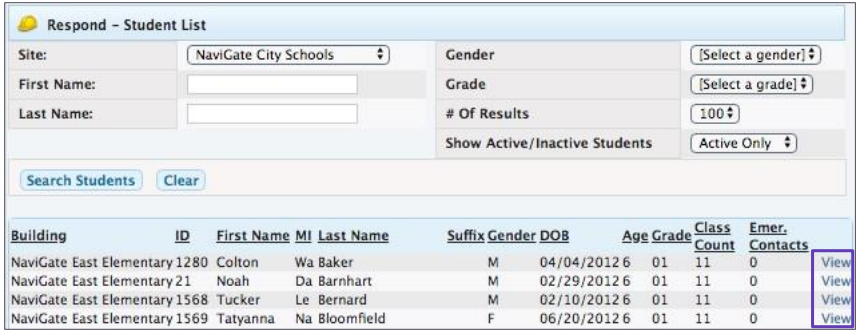
Data Review – Student Information
The Student Information screen will display all of the classes they are in, as well as specific details such as name and grade.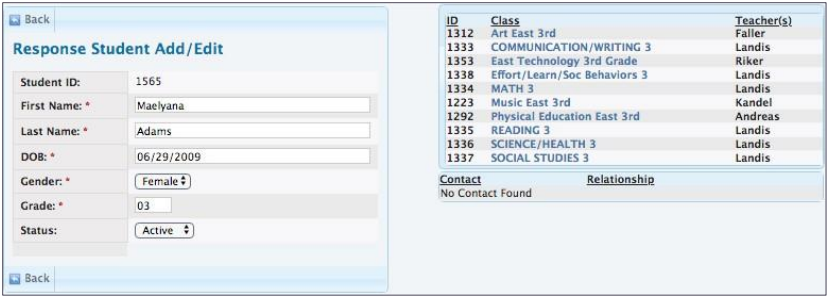
Respond Settings
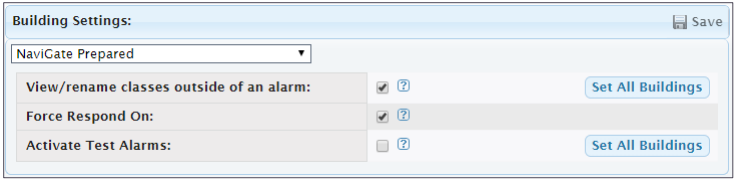
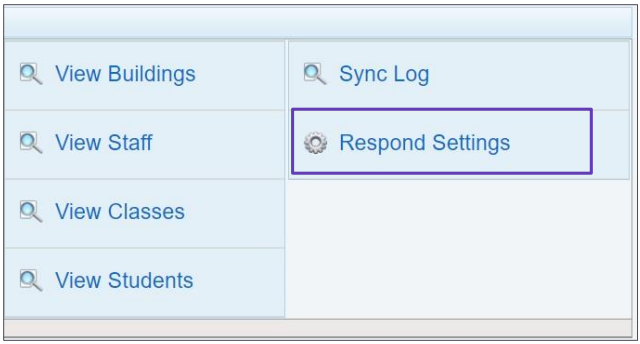
Also contained within the Manage Your Data screen are your district Respond Settings. These settings will allow you to add additional alarm types, as well as the option to let staff rename/view their rosters outside of an alarm.
To get started, click on Respond Settings.
From here you can customize Alarm Types based on your procedures. Click the Add New Alarm Type button.
You’ll title the alarm, choose an icon and sound, then save. You can also disable, edit, or delete certain alarms.
All alarm types are available for all sites to use and will be viewable to all users.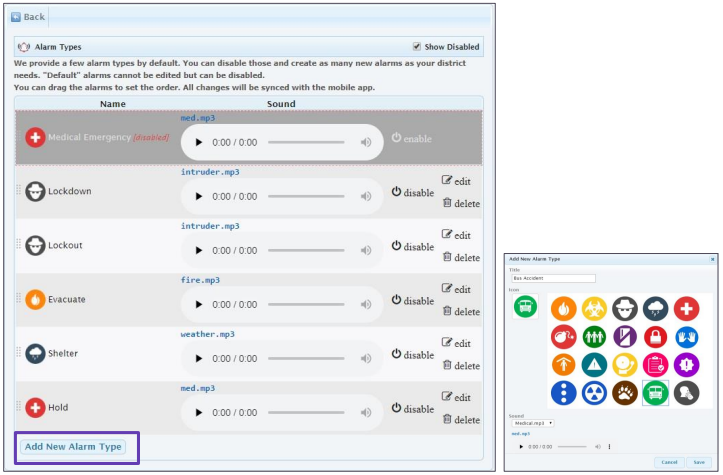
View/rename classes outside of an alarm: This enables staff with assigned classes to view their lists from the mobile app outside of active alarms. They can give classes custom titles to make selecting easier.
Force Respond On: Can be used for sites not currently active for Respond, such as a separate Central Office or Transportation Center. This option gives the site the ability to use alarm notifications and chat.
Activate Test Alarms: Gives the option to use all 3 Respond Alarm modes (Alarm, Drill, and Training) when activating Respond alarm. We recommend this option always be active.